Security Policies: Configuring Policies for Customers Using Standard Security
A security policy defines the rules that requesters must follow when making or editing requests. This article describes how to configure policies for systems that use Mazévo's Standard Policy definitions.
Overview
There are two main questions that a security policy addresses:
- What locations can the user request?
- What are the allowed timeframes for making and editing requests?
Based on how your installation of Mazévo is configured, security policies are presented in one of two modes: standard and advanced. This mode is set by Mazévo support for your installation.
Regardless of the setting, a security policy dictates the requesting restrictions for all users assigned to it. A requester must be given a security policy to make requests.
Standard Security Mode
When your system is set to use standard security policies, you can create one or more policies that determine the boundaries of time and location for requesters. Each requester must be assigned a security policy; the administrator can assign a policy to multiple users.
Here are two sample scenarios:
- Students are allowed to request rooms only in the Student Center for events that will take place within the next 60 days. The Events Office requires that requests be made at least five days before the first booking so that event planners have enough time to process them, and requesters can only make changes to requests at least two days before the booking date.
- Faculty can request rooms in the Student Center, Conference Center, and Smith Hall within the next 90 days. The events office requires at least two days before the first booking to process these requests, and requesters can only make changes to requests at least two days before the booking.
To accommodate the scenarios above, you would create two security policies—one for student requesters and one for faculty requesters—tailoring each to enforce the appropriate restrictions.
To create a standard security policy:
1. Navigate to Settings > Security Policies.

2. Click Add Security Policy. 
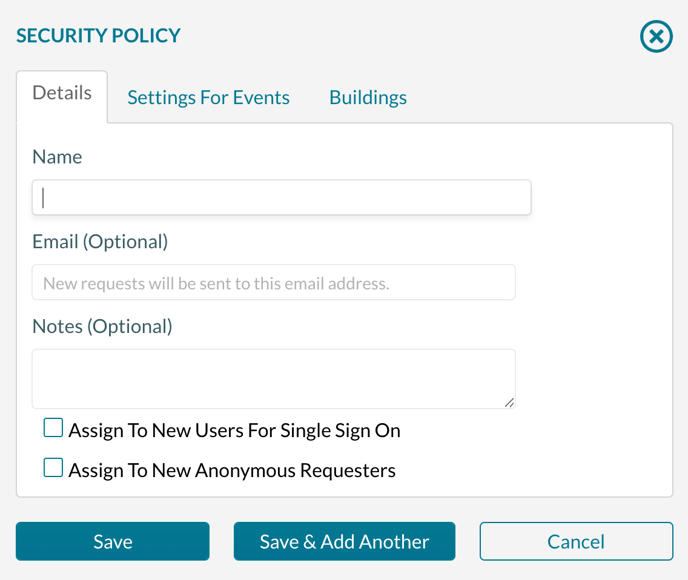
3. On the Details tab, enter:
- The Name of the policy.
- The email address to notify when new requests are created.
- Notes for this policy.
- If you use SSO and this policy is the default for new users, check Assign to New Users for Single Sign-on. A new user, authenticated through SSO, will be created as a Requester with this policy. Only one policy can be used as the default for new users.
- If you are not using SSO and new users can create an account, checking Assign to New Anonymous Requesters will assign this policy to the new user.
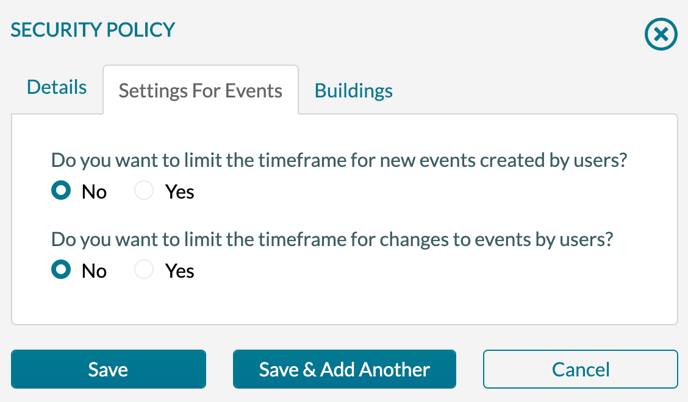
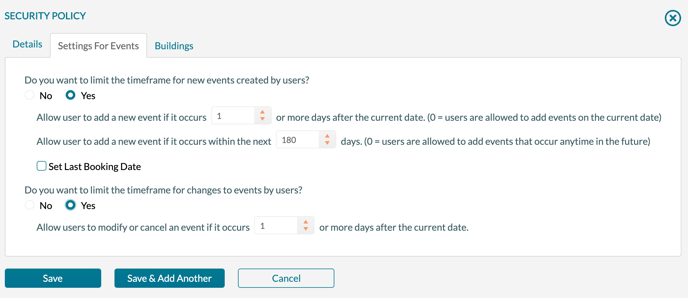
4. On the Settings For Events tab, click Yes for either of the timeframe options to set limitations if appropriate. To allow users to make requests without time restrictions, leave the two settings set to the default of No.

5. If setting timeframes, enter the appropriate values for restrictions on new events or changes to events. When specifying how far into the future the requester can make a booking, you can indicate a rolling number of days (e.g., 180 days out) or a hard date (9/1/2021).

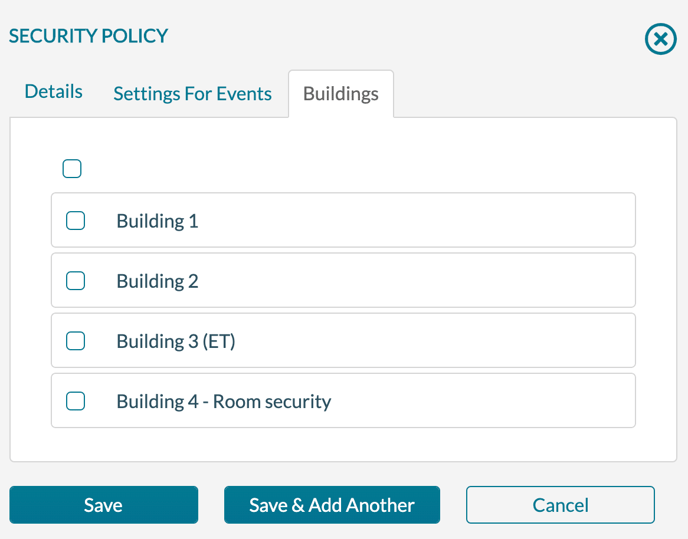
6. On the Buildings tab, select the building(s) available for users to request.

7. Click Save.
